How to Install Zebra Label Printer Driver on Windows XP
1. Plug in the Zebra Printer (Power and USB)
2. Turn the printer on and ignore/cancel any popup messages on your computer screen
3. Download the Zebra Label Printer driver (Link)
• Click the link to download and save to your desktop
4. Double-click the downloaded file and you should see the following
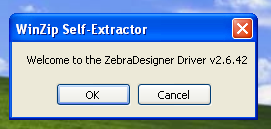
5. Click OK and you should see the following

6. Click Unzip and you should see the following

7. Click OK and you should see the following
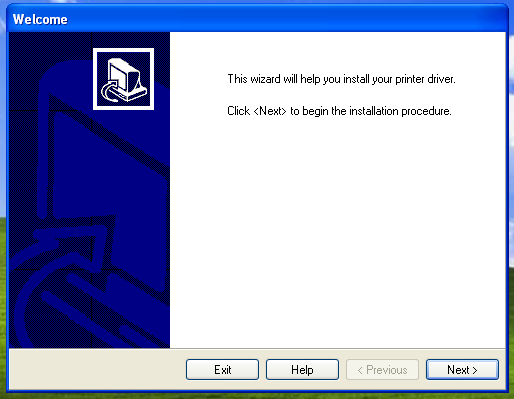
8. Click NEXT and you should see the following
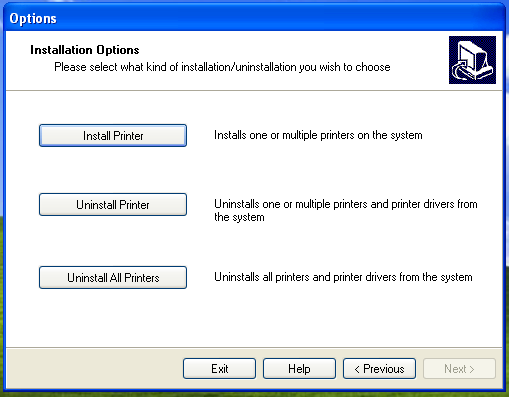
9. Click Install Printer and you should see the following
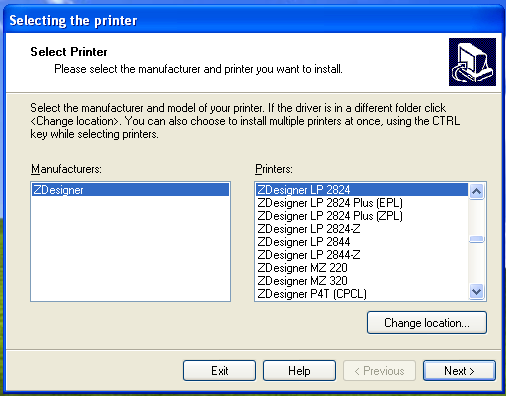
10. Choose your printer model on the right side then click NEXT and you should see the following
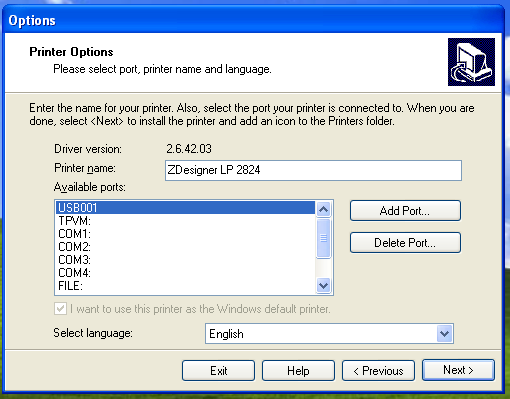
11. Choose USB001 then click NEXT and you should see the following
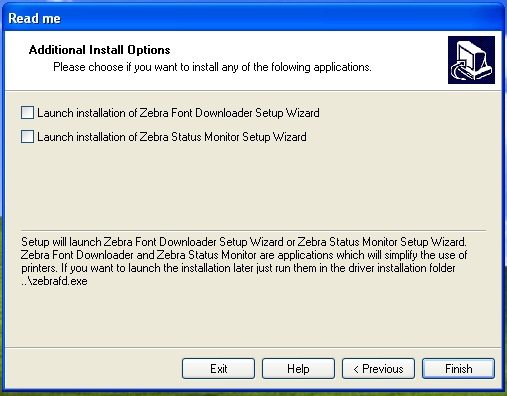
12. Uncheck “Launch installation…” then click FINISH. The installer will show a progress bar and when it is done you should see the Zebra printer in your control panel
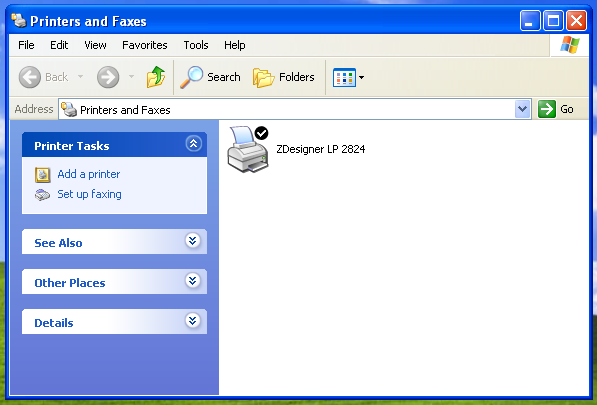
You are now ready to print labels to this printer