Automating Imports
POSIM’s auto import feature allows users who make frequent use of Import Manager to automate the process. This is done by setting up a specifically named “Import” folder where properly formatted excel files can be dropped. When the scheduled import runs, the POSIM will grab the file from this folder and import it into the software.
To set up automated imports:
1. Set up a destination folder
On the computer where auto imports are to be set up, create a designated folder named “Import.” This will be the destination folder for any files designated to be automatically imported by POSIM.
*The file can be named differently. If it is changed, the other places it is referenced later in this tech tip will also need to be changed accordingly.
2. Create the file to import
POSIM’s auto import feature uses file name keywords and column header keywords to locate and properly import excel spreadsheets. Excel files for import will need to start with a specific keyword. Column headers inside the spreadsheets for import will need to match the mappable field names from POSIM’s Import Manager utility.
Excel filenames need to start with:
– items
– vendors
– customers
– invoices
– purchaseorders
– itemcomponents
– receiveworkingpo
The auto import feature uses these file name keywords to determine which Import Manager selection to import into.
Naming column headers:
Inside the spreadsheet, column headers to be imported need to be named according to their counterparts in POSIM’s Import Manager utility.
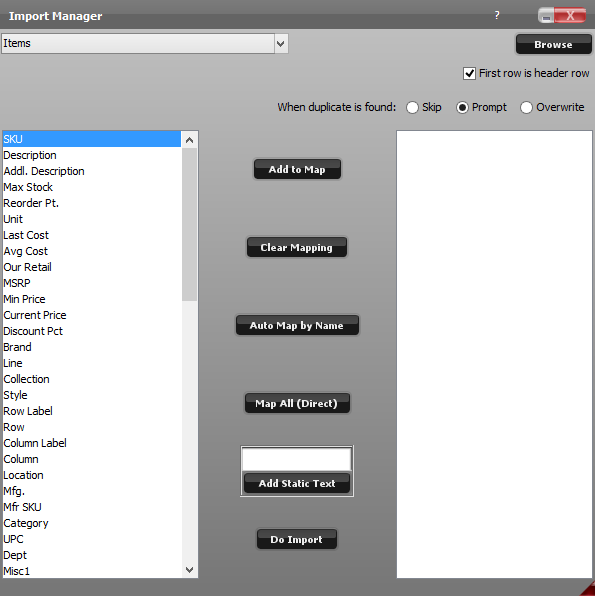
POSIM’s Import Manager Utility
For example, when using the “items” file prefix for a spreadsheet to import, any column headers for import within that file will need to be named identically to their counterparts in the Items drop-down inside Import Manager.
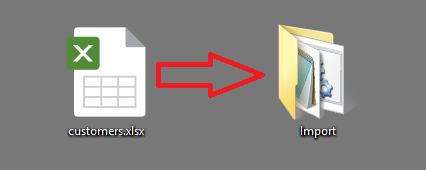
3. Place the file to import into the designated folder
After the excel file has been formatted with correct column headers and named according to the proper keywords, it can be moved to the Import folder.
4. Create a command or batch file which tells POSIM to import files from the designated folder
The examples assume that the folder is named “Import” and is saved on the Desktop.
Mac Users:
In a text editor, enter-
cd /Applications/POSIM EVO.app/Contents/Java/ && ./java -jar Juniper.jar import ~/Desktop/Import
Save the text file as “autoimport.cmd”
Windows Users:
In a text editor, enter-
cd C:\Program Files\POSIM EVO
“java\bin\java.exe” -jar Juniper.jar –import “%HOMEPATH%\Desktop\Import”
Save the text file as “autoimport.bat”
Once the command file has been saved, ensure that it runs by double-clicking on its icon. If it runs successfully, a window should pop up showing information to be imported.

Import window indicates that the import is running
5. Schedule the import to run automatically
Once the import file and folder are in place, and the autorun file has been created, use the Task Scheduler (Windows), iCal (Mac) or a crontab (Mac) to set the import to run automatically at a specified date and time.